Neck Leaks - The #1 saxophone problem
What to do when your saxophone neck is leaking
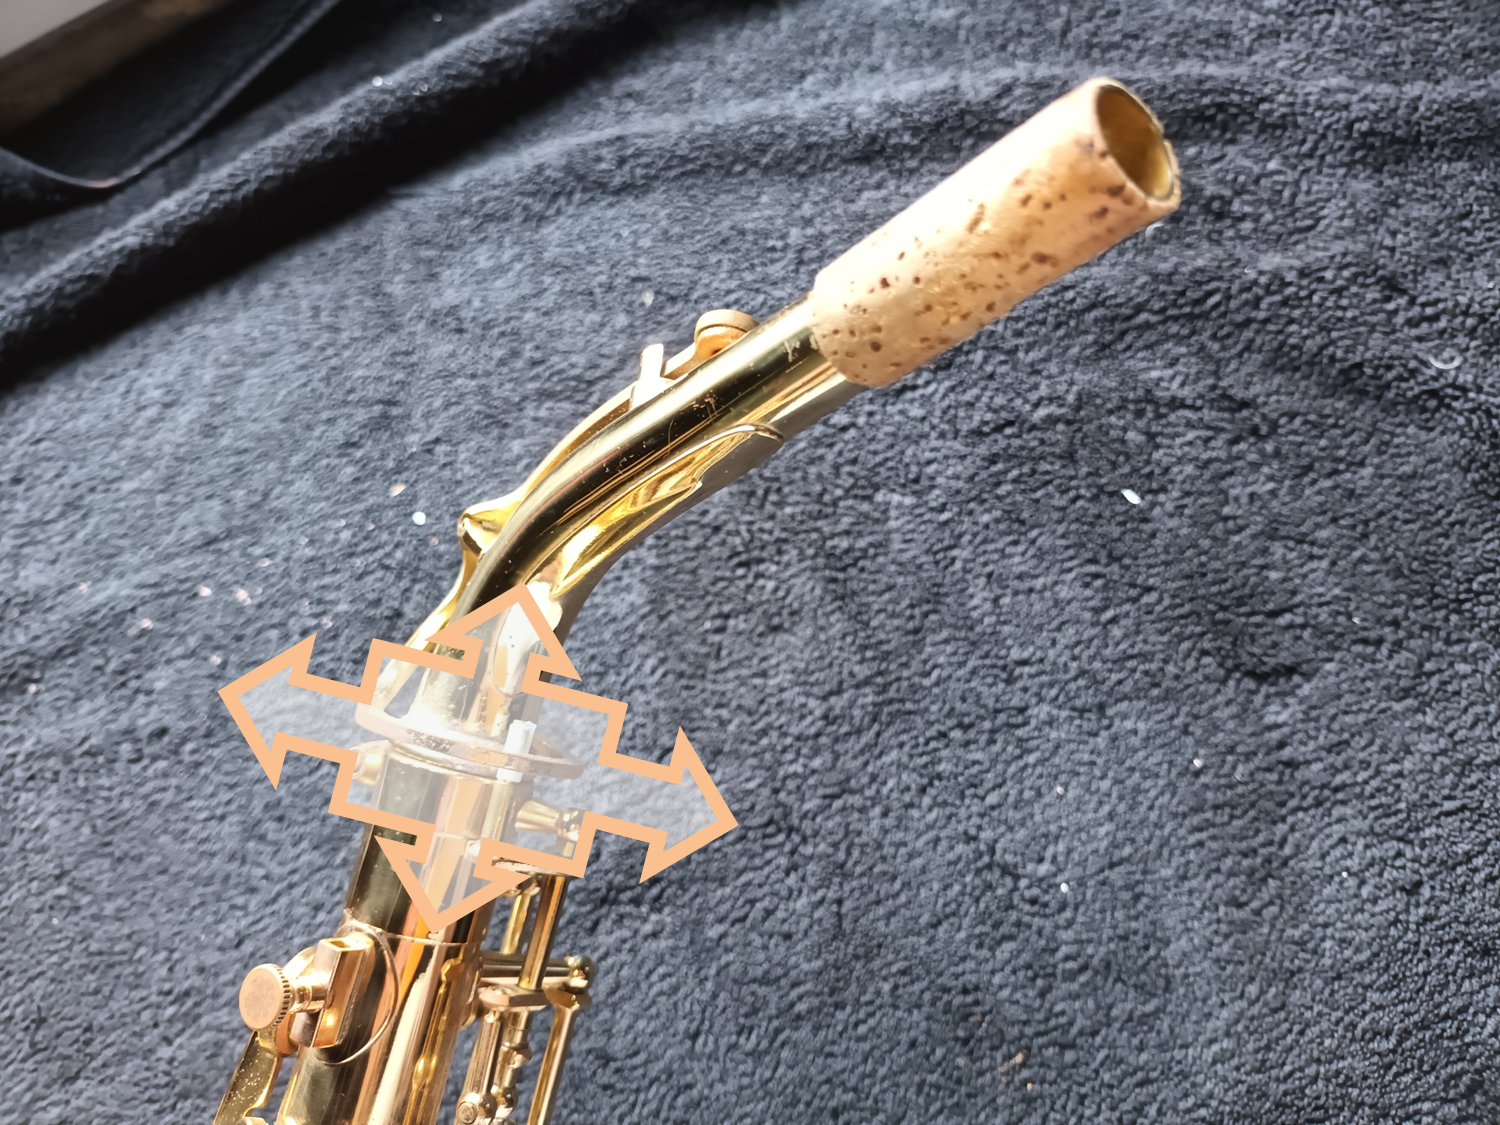
Do you have a weak sound? Do the palm keys not work or are badly out of tune? The chances are that its not you, it is a leaking neck tenon.
A clear giveaway that the neck is leaking is that the tenon is wet on the outside when you remove it from the instrument. This is easier to spot in the winter when the air temperature is lower.
Leaks from the neck are the #1 problem with all the saxophones that arrive in the workshop. I mostly deal with student and intermediate instruments so its not really a surprise. However, there are some things you need to know which can improve your playing and keep things going before you take your instrument to a repairer.
Sadly, they can be like this from new especially from generalist music stores without their own wind instrument specialist or in-house QA.
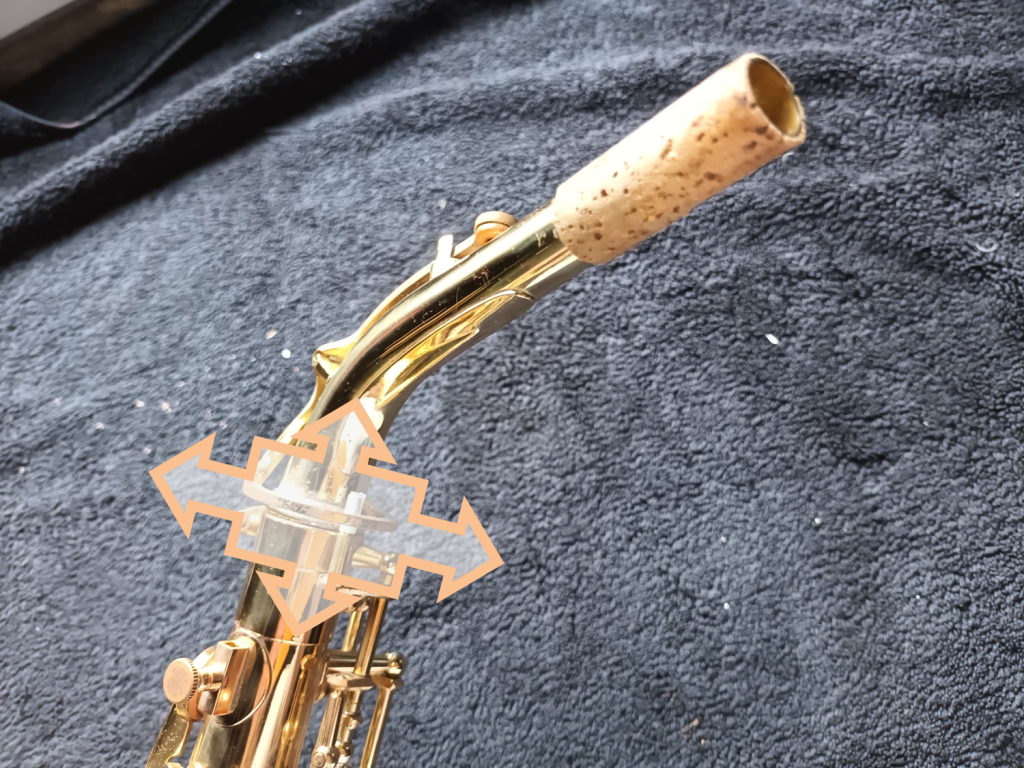
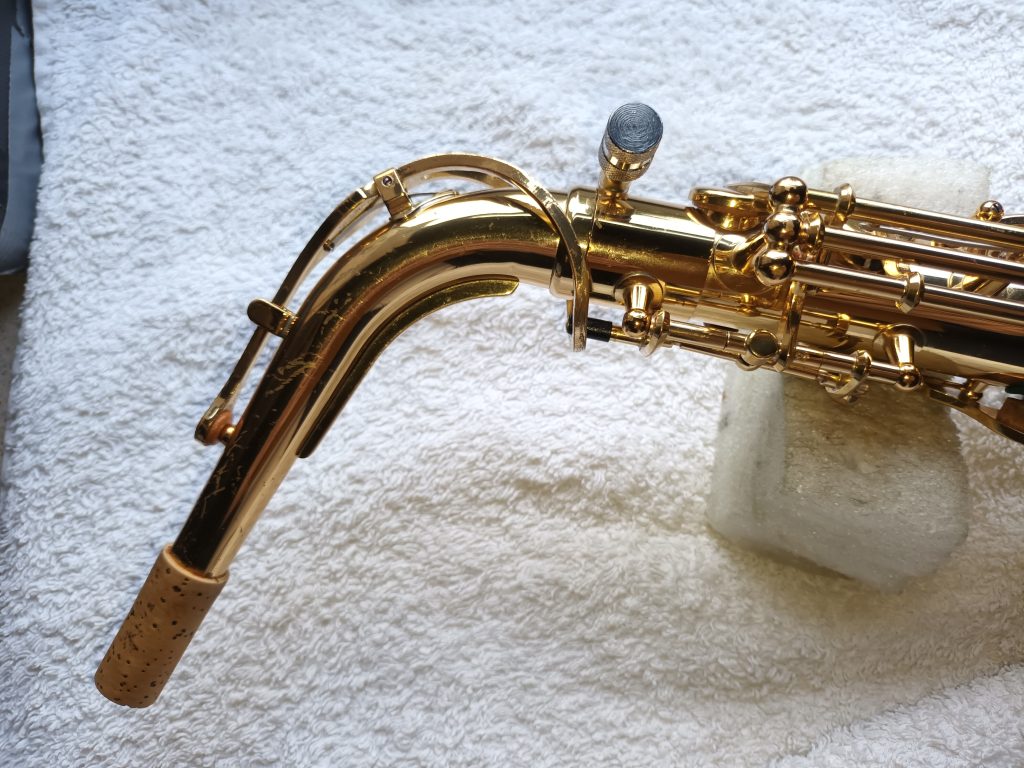
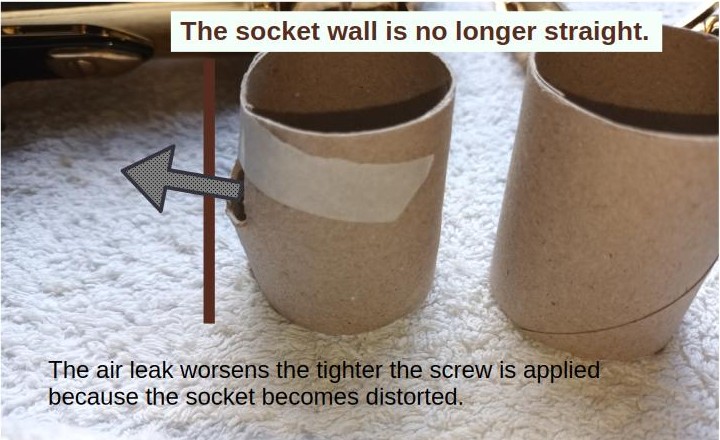
Do not over-tighten the neck screw - it makes the leak worse
Its also more expensive to fix because the socket will not be round anymore.
Popular repairs you must avoid
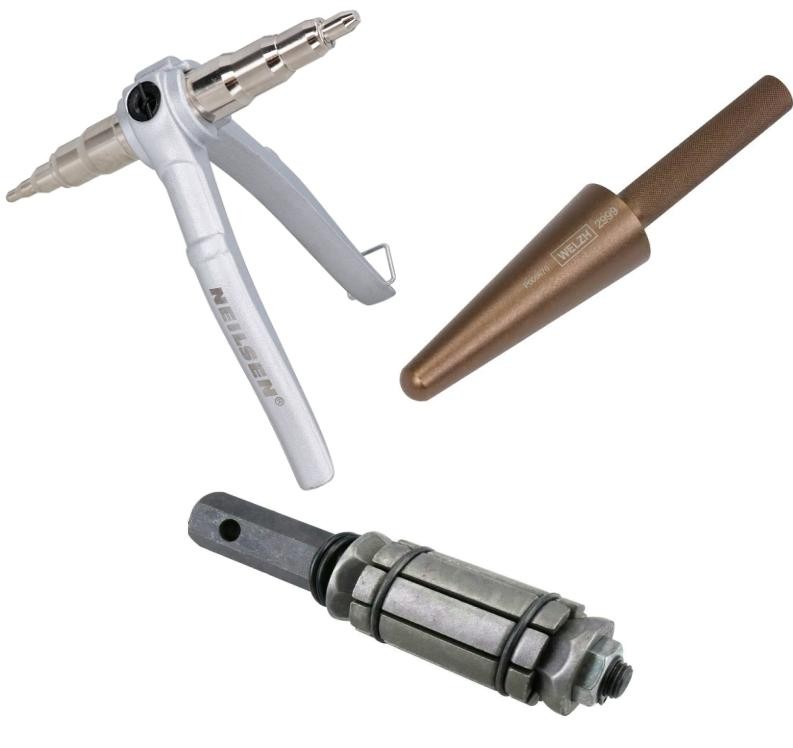
I have seen many repair attempts using plumbing tools. These fail because they crimp the tube to expand it so it will not be round. the neck may fit without wobbling but it will still leak. These repair attempts also make it difficult and expensive to repair properly.
What you need to do
1 - Book instrument in to a repairer.
A brass or flute instrument specialist may have the correct tools, someone who only repairs clarinets probably will not.
A special expanding tool is needed for this job (called a can-opener expander), if the repairer does not have this tool or cannot replace the tenon with a properly fitting one, look for another person to do the job.
2 - Make a temporary fix
One way is to seal around the leaking area with a non-drying oil-based putty (e.g: blu-tack).
This only works if you suspect there is a leak and the neck does not spin freely.
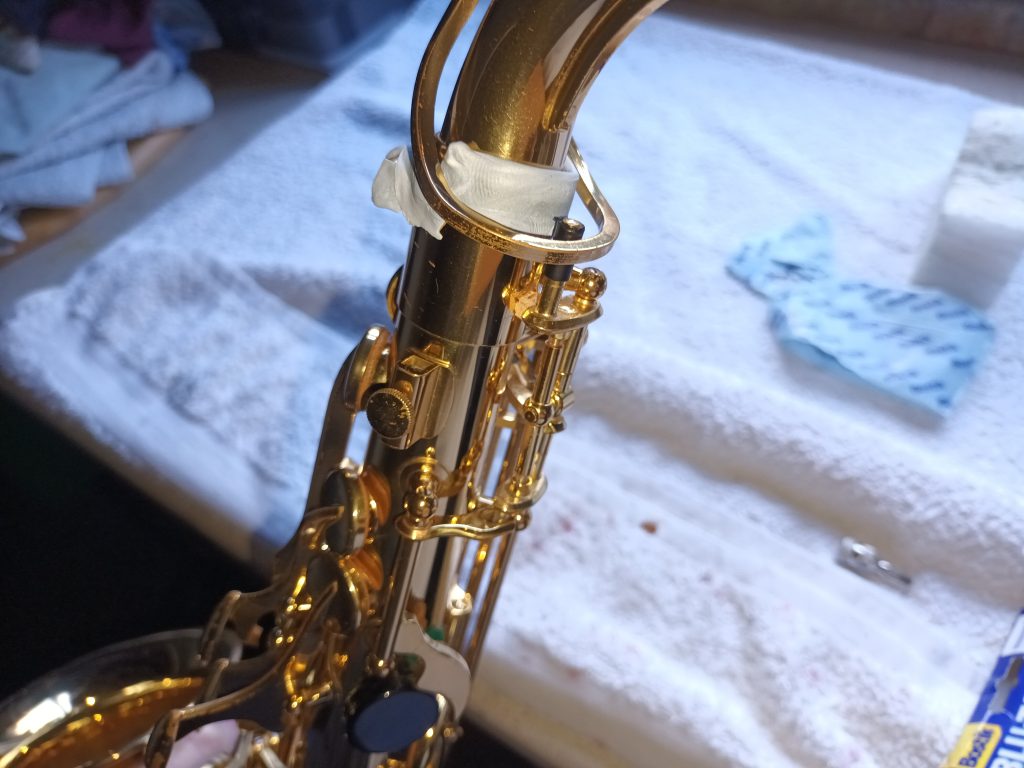
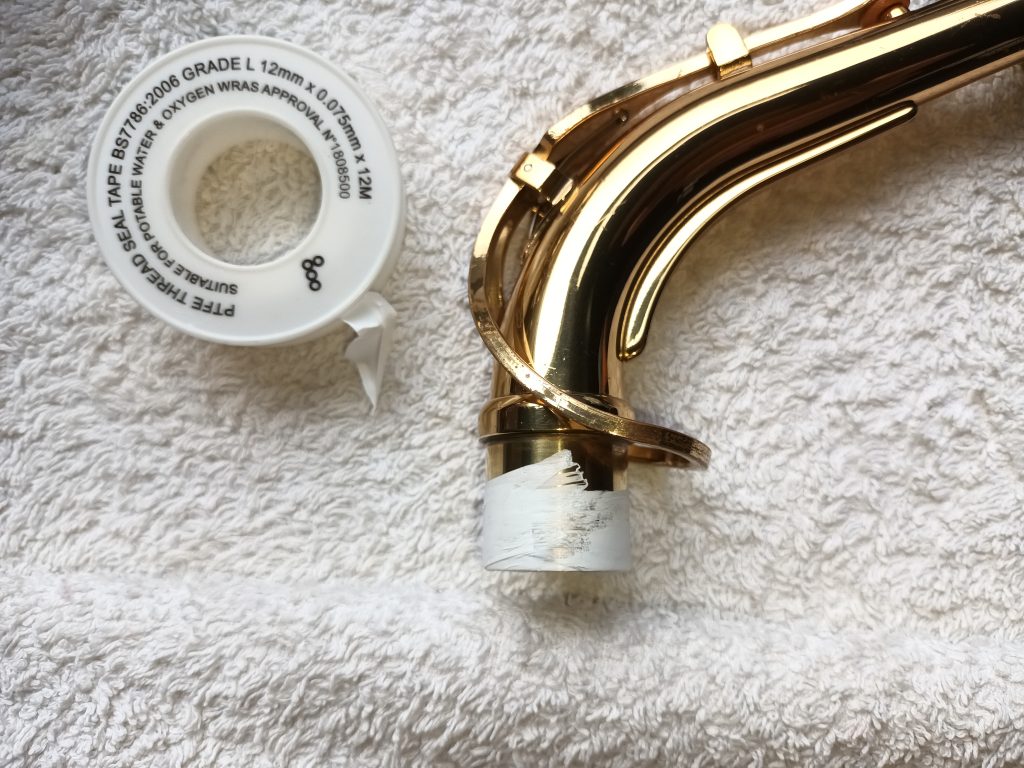
A better way for necks which wobble and spin is to use plumbers tape. Use the thinnest teflon tape you can find (0.075mm is usually ok). As you wrap it around the neck, start from the bottom and pull it tightly. It can be stretched a little.
After you have wrapped the tenon, gently insert it using a rotating motion in the same direction the tape was applied. This forces the tape into the low spots and pushes it away from the high spots. You may need to remove the octave lever from the neck to insert the neck this way. If there is a lot of resistance, do not force it. If the neck becomes stuck it will be difficult to remove. Remove some tape and try again. Once complete, the neck should go in and out smoothly with moderate resistance and the lever can be put back on if it was removed earlier.
Note that the tape will wear so keep some with you so the process can be repeated when it needs to be done.
Sometimes, the lower part of the tenon seals fine but the top part needs a few layers of tape.
Other times, a half-width of tape at the bottom of the tenon is enough to fix a leak.