
The Problem Parrot - Part 2
Parrot Tenor Saxophone - Fixing the problems
You might need to read the first part of this blog series so this article makes more sense.
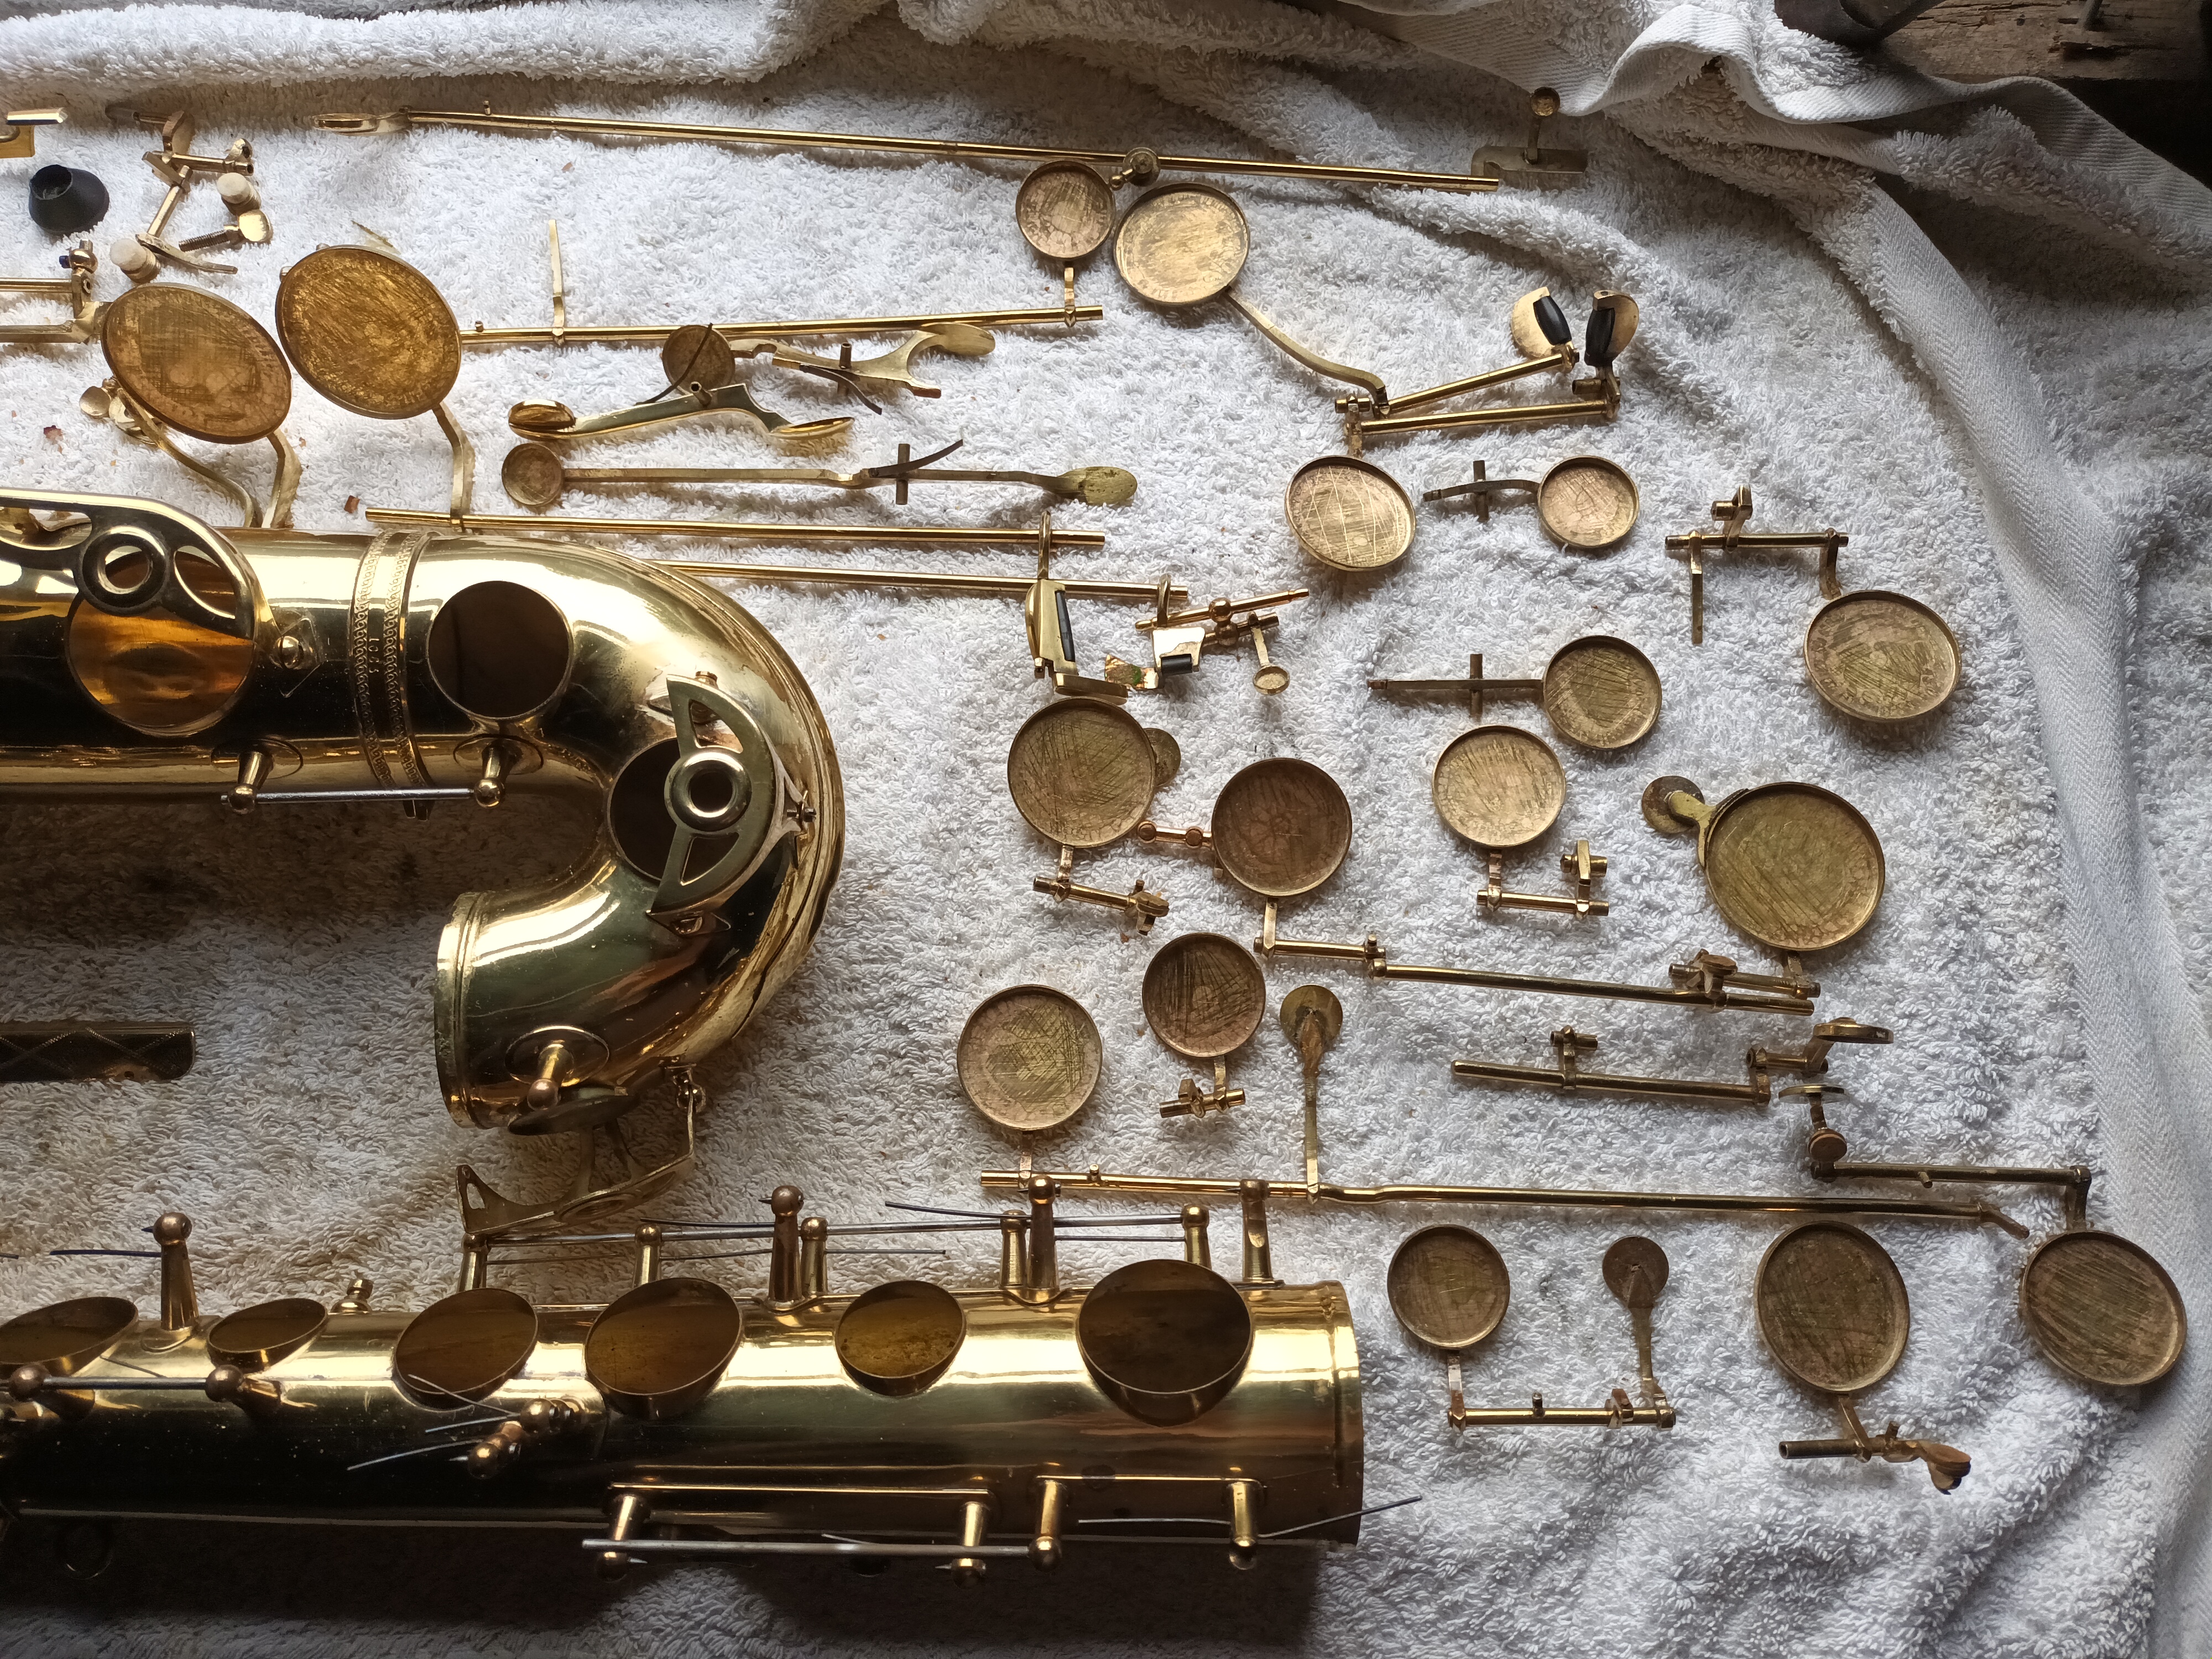
Before getting to the dents, the Parrot tenor saxophone was missing some parts, the balance bar for the octave mechanism and some posts for the key guards. A similar donor saxophone needed to be found. A broken gear4music 100G was brought. It was in a worse state than the horn it was needed for! The main issue was a leaky tenon which a previous owner had tried to fix with putty, then tried fixing a leak on top F# by bending things until the post broke off. These are common problems on budget saxophones. The components are good but the details (where the time is spent) was lacking. The tone holes were all roughly finished so would have leaked and eventually torn the pads. These details represent about 30 minutes labour to fix in a factory setting. I don't have anything against G4M, I like what they have done for music retail but the specification and quality for these entry-level saxes needs to be a bit higher. The donor saxophone retails new for less than the price of a games console. How much better could it have been if extra quality-focussed labour put the final retail price at the same level as the latest Playstation plus a few games?
Anyway, the donor sax has done its job, I have a box of spare parts and a spare bell should I ever need one for a project.
Dent repair time. The ones in the neck were more difficult to remove.
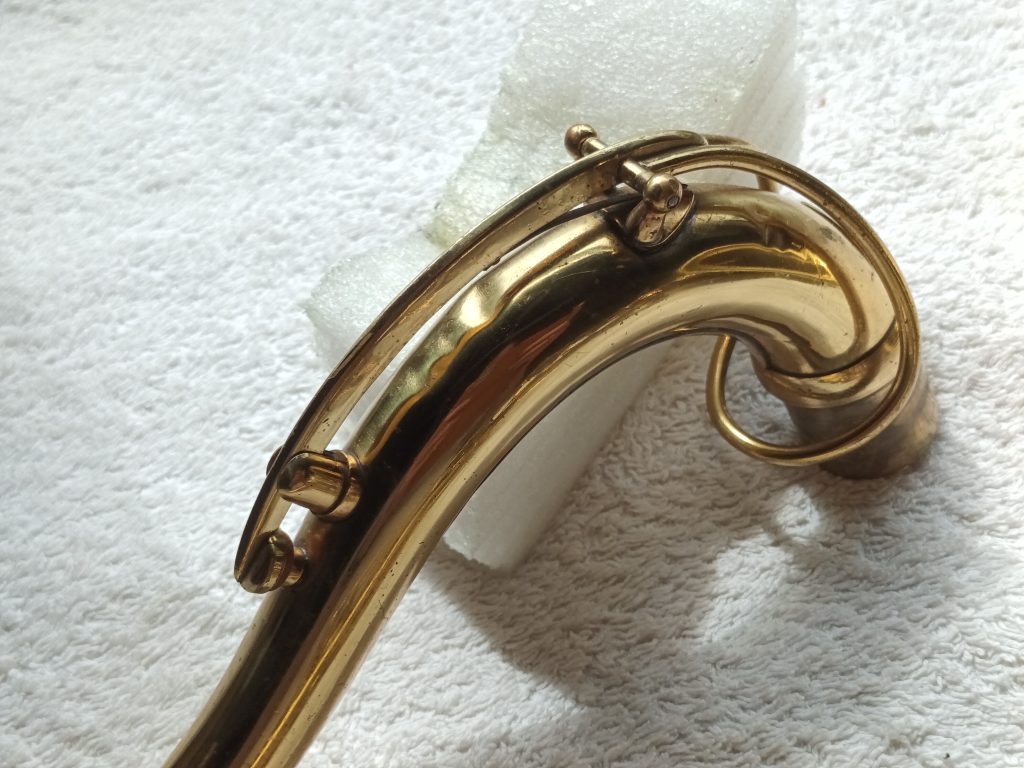
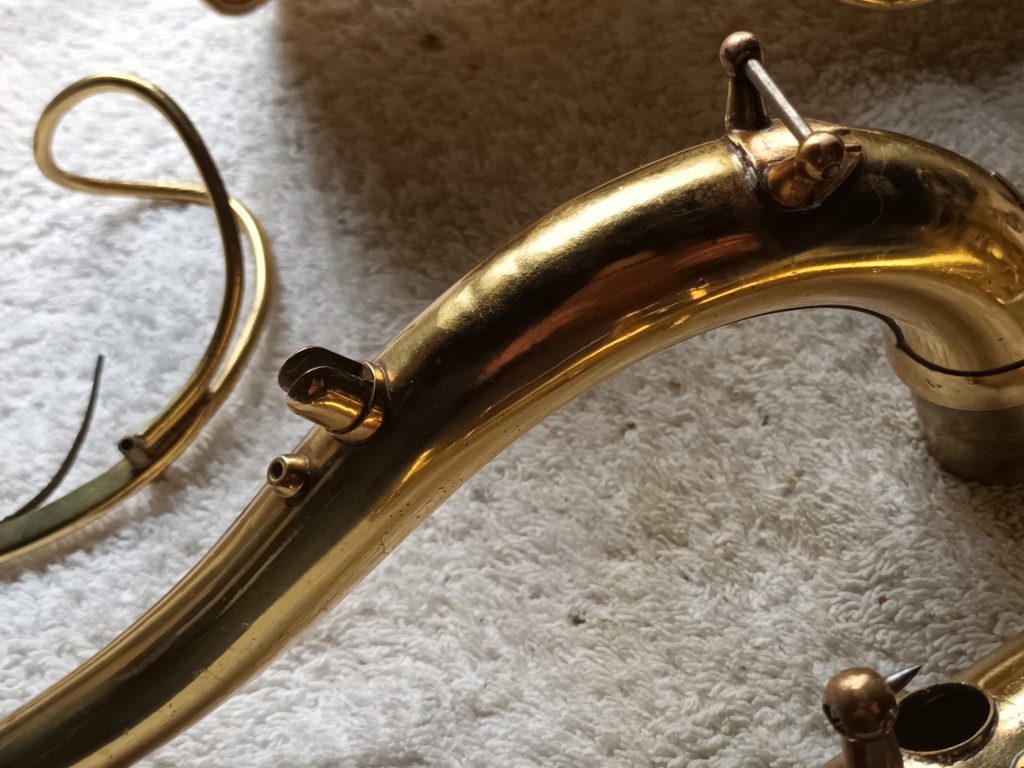
New key guard posts needed to be soldered on. Soldering onto old lacquered brass is a real challenge. The repair will always be visible and some lacquer loss will happen. Getting the area clean enough for the solder to hold is the most challenging part.
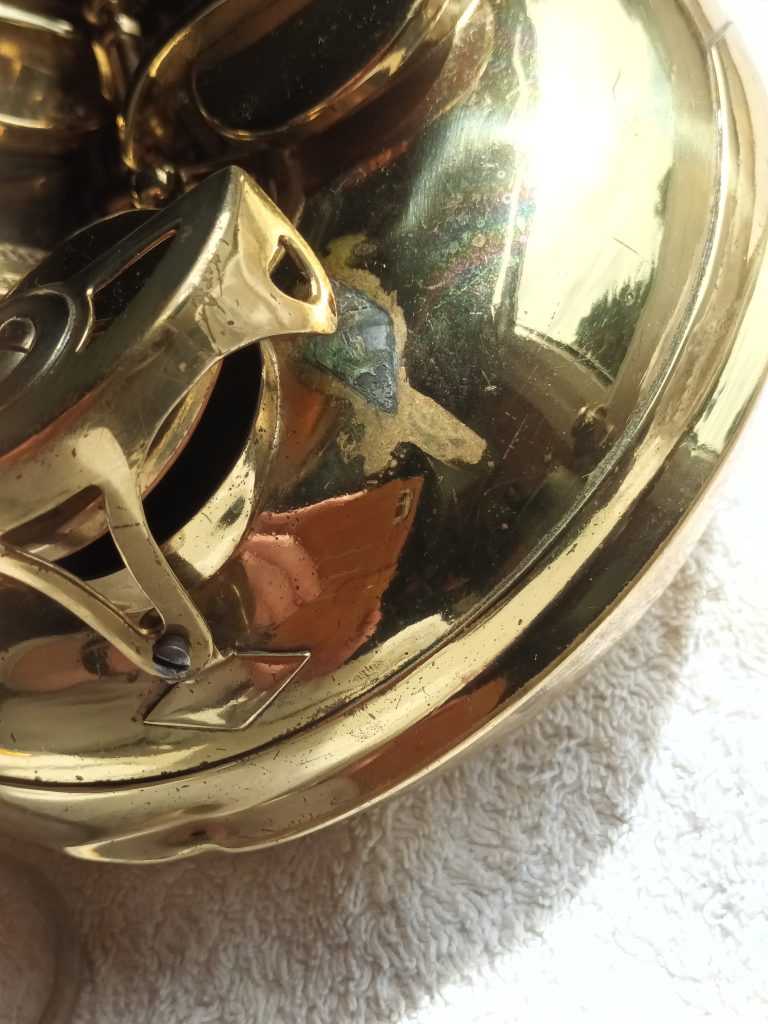
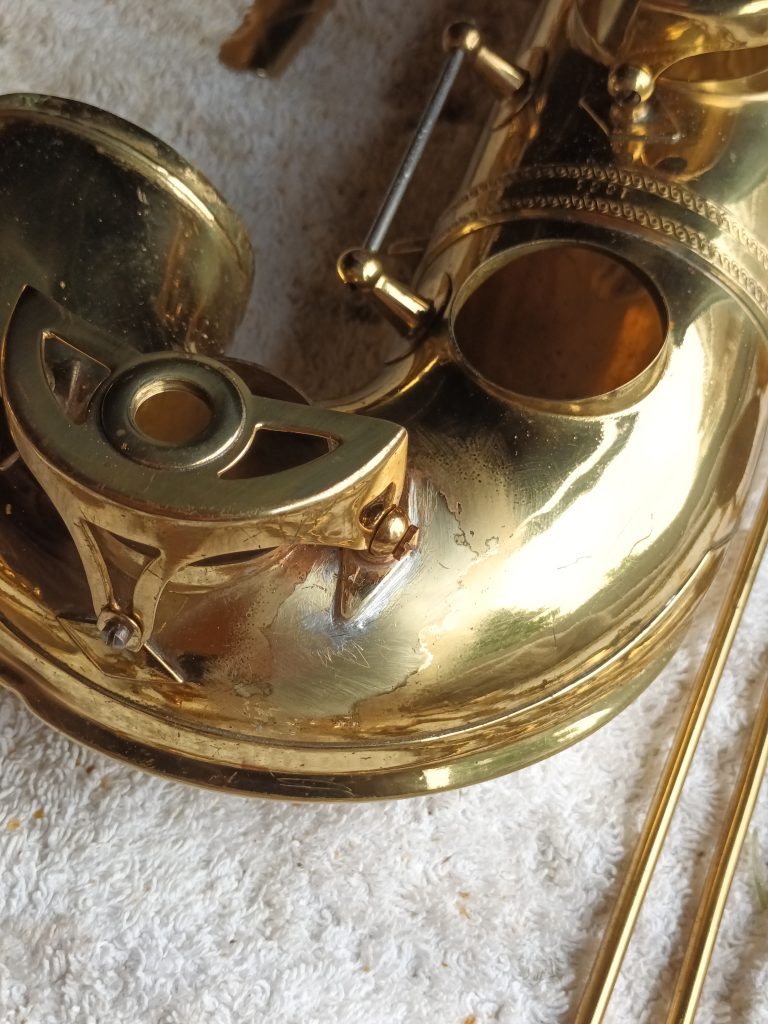
Soldering parts onto saxophones is the one task I always worry about. I am getting better at it every time I tackle it. The final result is neater and cleaner with less finishing each time.
The next job was to fix the key-work. Bent rods (which was all of them) were straightened as much as possible. All posts and rods were shrunk and re-aligned so the touch pieces all feel precise with no wobbling and a nice smooth motion.
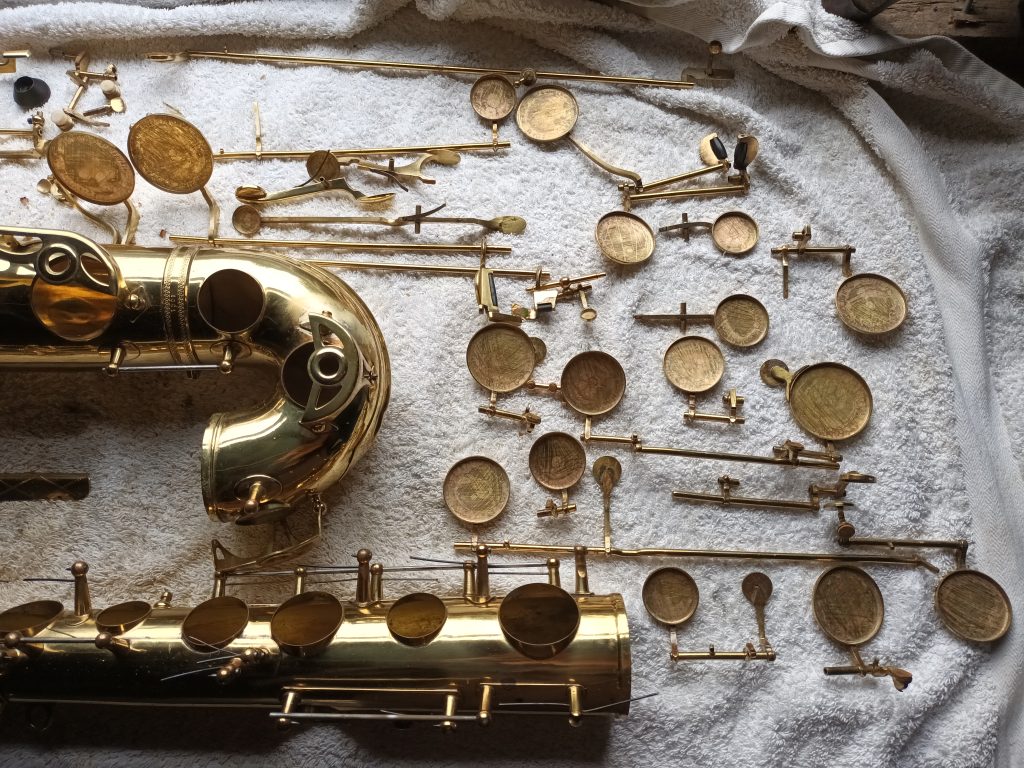
Fitting a new set of pads and setting the regulation and key heights is a lot easier than fitting one or two pads. This horn had mostly original pads which were worn out, crispy and rotten. They looked good quality with plastic resonators and were the thin type you only find on top spec saxes. I used a set of medium thickness pads with plastic resonators. These are easy to fit and the extra thickness produces a reliable seal. They went in really well. All fitted perfectly first time with no shims or much manual adjustment. This is the best sign yet that this project should turn out really well. The only adjustment I needed was to push the tone hole for low C and B up a little to fix tiny hairline leaks. The easiest repad I have ever done.
The final task was to fix the leaky tenon. The usual method of expanding the neck part was not enough, there were leaks in the joints on the neck and tenon end which needed the solder remelting and realigning to fix.
These leaks were difficult to diagnose. When play-testing, the palm keys had a strange overtone where it sounded like a split octave from top Eb upwards. The standard leak test I use did not reveal this.
With all that work done and a backlog of jobs building up, I will be glad to finish this project and hear what this horn sounds and feels like. The signs are promising that this should be a good saxophone.